
Have you had a chance to try out our free Marilyn's Slim Fit Peasant Dress that's available on Fabric.com? It is the first ever CKC dress that I personally made and I instantly fell in love with it! I can't even guess how many of these I might have made by now!

The pattern comes with a sash and we have had many customers ask how to attach it to the dress. Actually, the sash wasn't intended to be attached and can be left off altogether. Buuuut if you want to use the sash and have a little girl like mine who is thicker through the middle, the sash can slide right down if it's not attached! Also, some little girls are just too busy to let a sash slow them down and it's off in seconds. If you have one of these sweet darlings in your life, don't give up on the sash altogether, because today I'm going to teach you how to attach a sash to our simple peasant dress. It's actually really easy!

First let me say that this is definitely not the only way to attach a sash. For example, several patterns have a sash built right in, such as Hadley's Halter Top, Maisy's Ruffled Tunic, and Nicole's Party Dress. Other dresses have a separate sash that is not meant to be attached but you can easily pin the sash across the whole front bodice seam and topstitch it in place from side seam to side seam. Those are both great ways to attach a sash. But the reason I like to do today's alternate method is because it attaches the sash only on one side seam so that when it is tied around the child, the dress will be gathered evenly all around her belly or chest, rather than being flat in front and gathered in back. So let's get started!

Step 1: Sew the dress and sash according to instructions, with no changes.
(Note, the Marilyn's pattern runs from sizes 18m to 6. If you need extended sizes, Jaclyn's Jumper Dress comes with a similar layering dress in sizes 6m to 8. Use the same sash as in Marilyn's.)

Step 2: Lay the dress out on a flat surface. On one of the side seams, measure down the amount listed in the chart below and mark with a pin, as shown with the blue line above.


Step 3: Take the completed sash and find its seam. Match that seam to the side seam of the dress, lining up the BOTTOM of the sash with the place that we marked in the previous step. Note the picture above. Check to make sure that the shorter end of the sash will be in front of the dress when tying, because the longer end will go all the way around the back and to the side or side-front.

Step 4: Pin the sash seam to the side seam at the place we marked.

Step 5: Now sew the sash in place by "stitching in the ditch" up and down that seam line once or twice, being sure to backstitch at beginning and end.
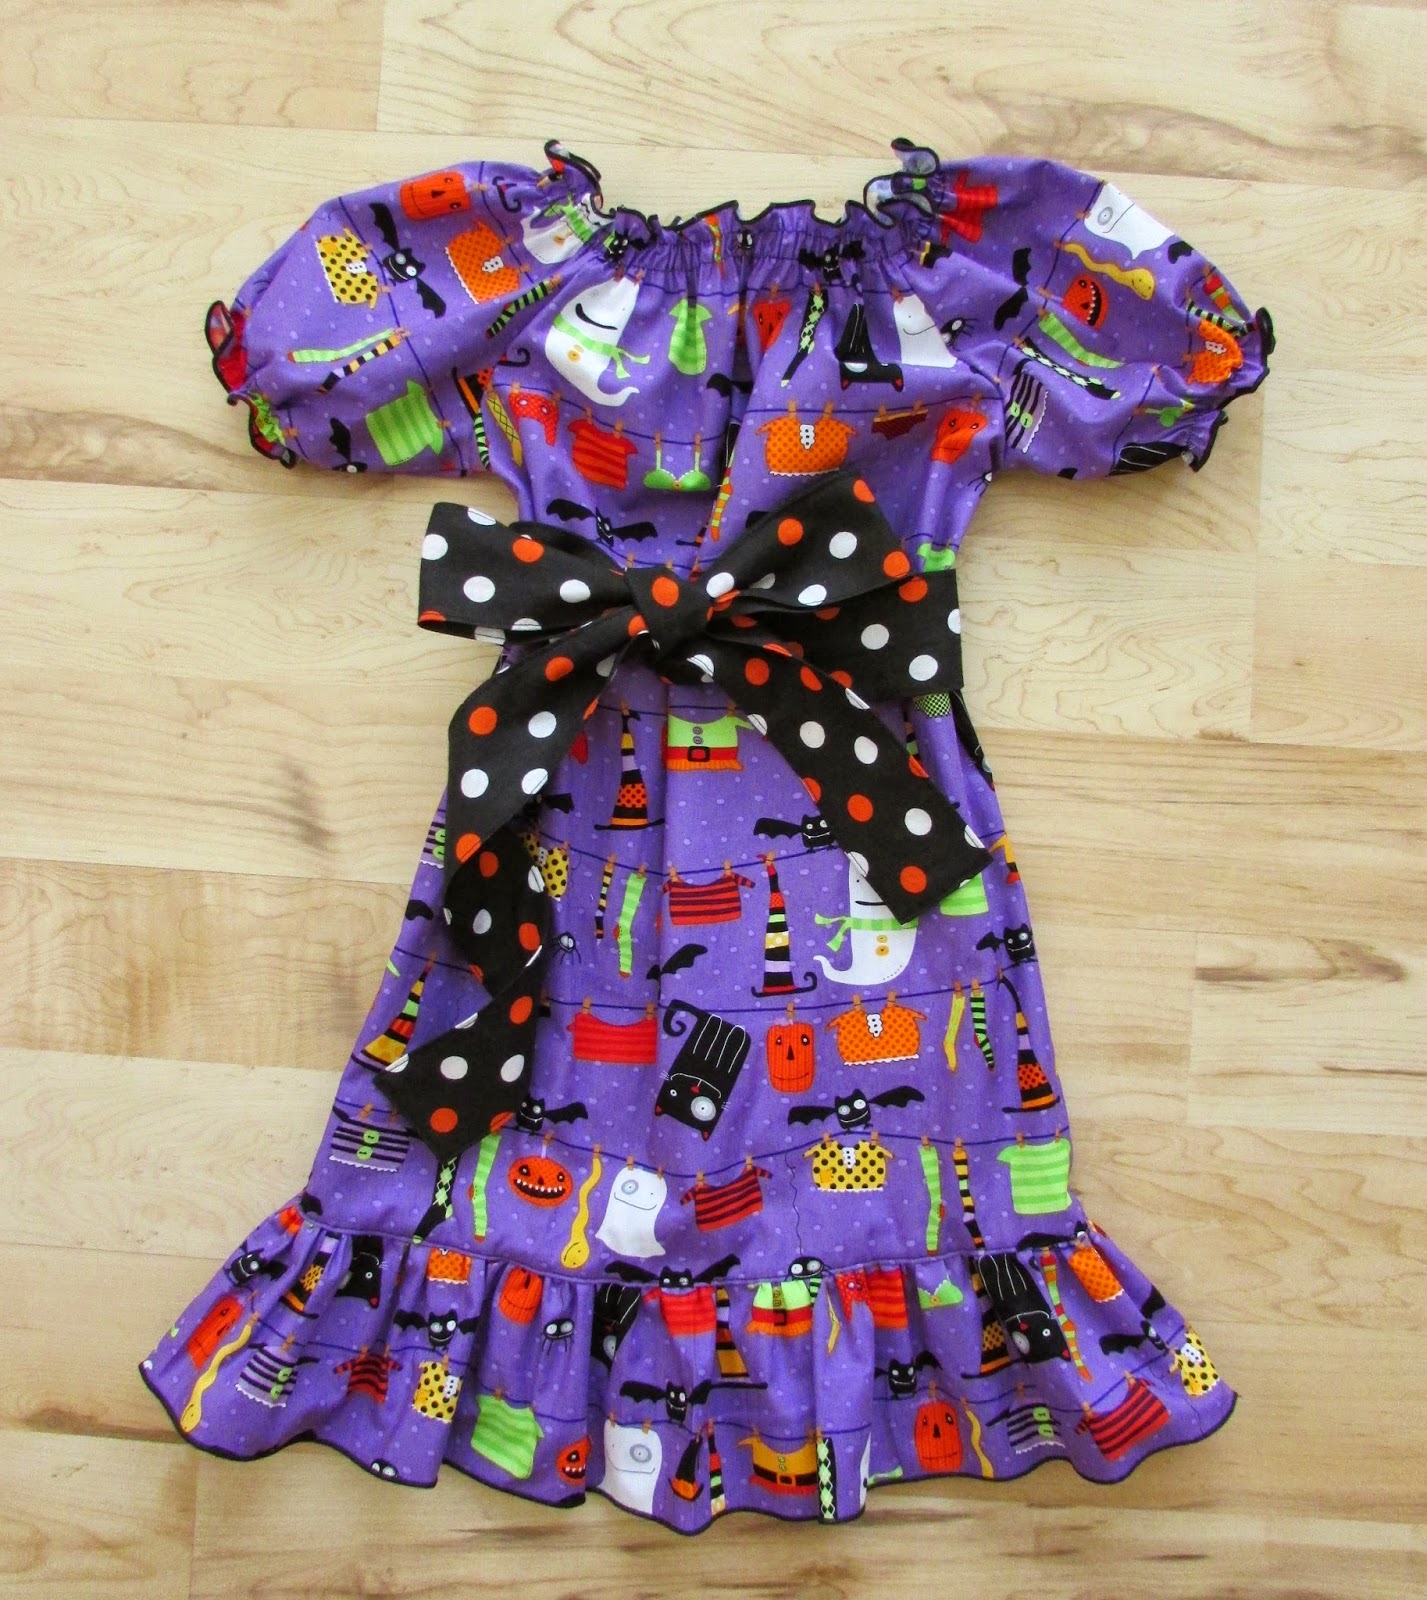
And that's it! Your sash is now ready to tie! Notice that when we place the seams directly on top of each other, a tied bow will have assymetrical bow ties like in the picture above. I do this on purpose because I love the look! But if you want your bow to be perfectly even, you can play around with the placement on the sash before you attach it.
Good luck to your little girl in trying to take off her sash off now.
Let's Create! ~ Kristen
No comments:
Post a Comment